How to make a cross stitch pattern
Five steps from picture to pattern
1. Choose a picture
Pick a sharp photo with one clear subject and a plain background, or take one with your phone. Crop close to the subject: everything else becomes extra colors and stitches.
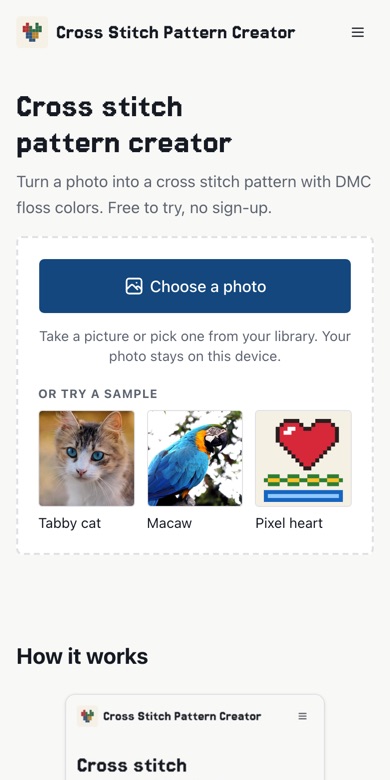
2. Set the size and the number of colors
Size is the number of stitches on the long side; 60 stitches is about 4 inches on 14-count Aida, 100 stitches about 7 inches. Detail sets how many DMC colors are used: fewer colors are quicker to stitch, more keep soft shading.
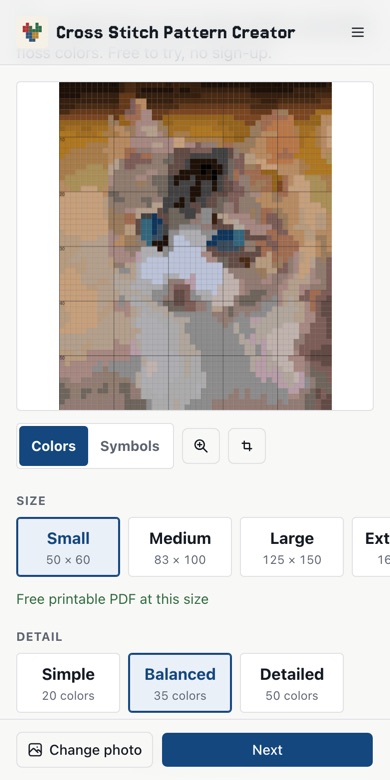
3. Check the finished size
Look at the stitch count, the number of colors and the finished size before you buy fabric. Divide stitches by the fabric count to check it yourself.
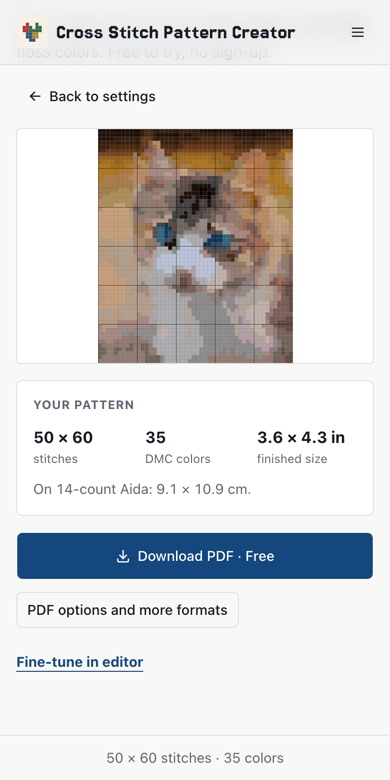
4. Clean up and fine-tune
Photos leave single stitches of odd colors that are slow to sew. The converter removes most of them. In the editor, the Stray brush and Clean up remove the rest, and you can redraw details such as eyes stitch by stitch. Turn on the photo overlay to compare with the original.
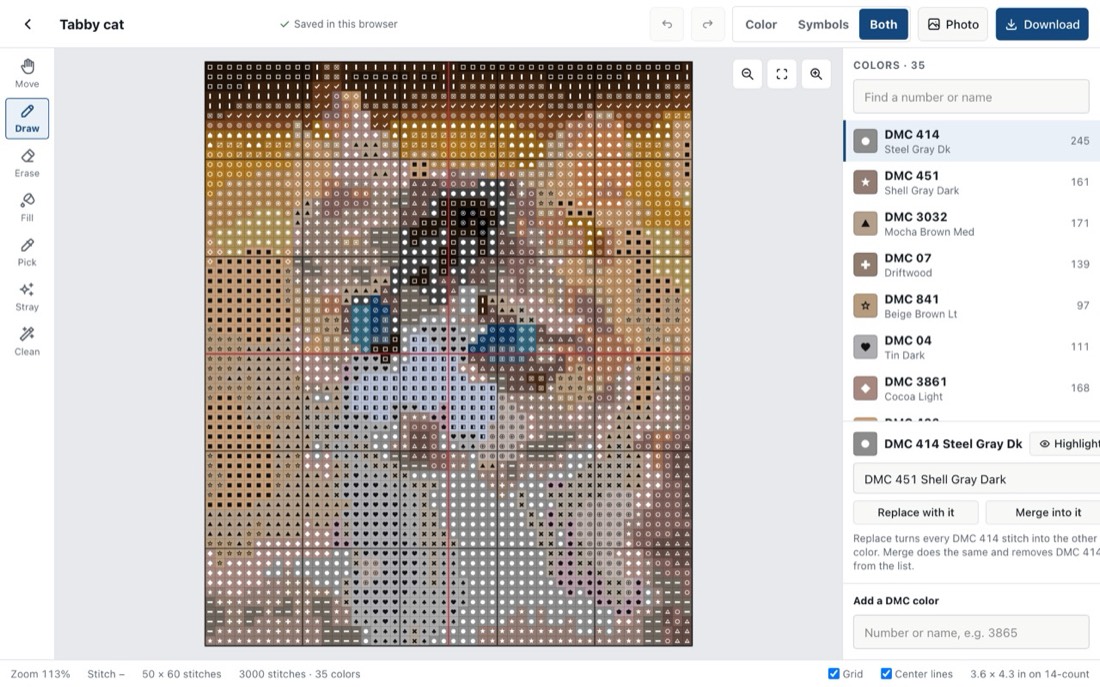
The editor: tools on the left, the chart in the middle, the DMC colors with symbols and stitch counts on the right. 5. Print the pattern
Choose Letter or A4 paper, how many squares go on each page, and whether the chart is in color or black and white. The PDF has a cover page, chart pages with symbols, the thread key and floss amounts. Patterns up to 60 × 60 stitches print free.
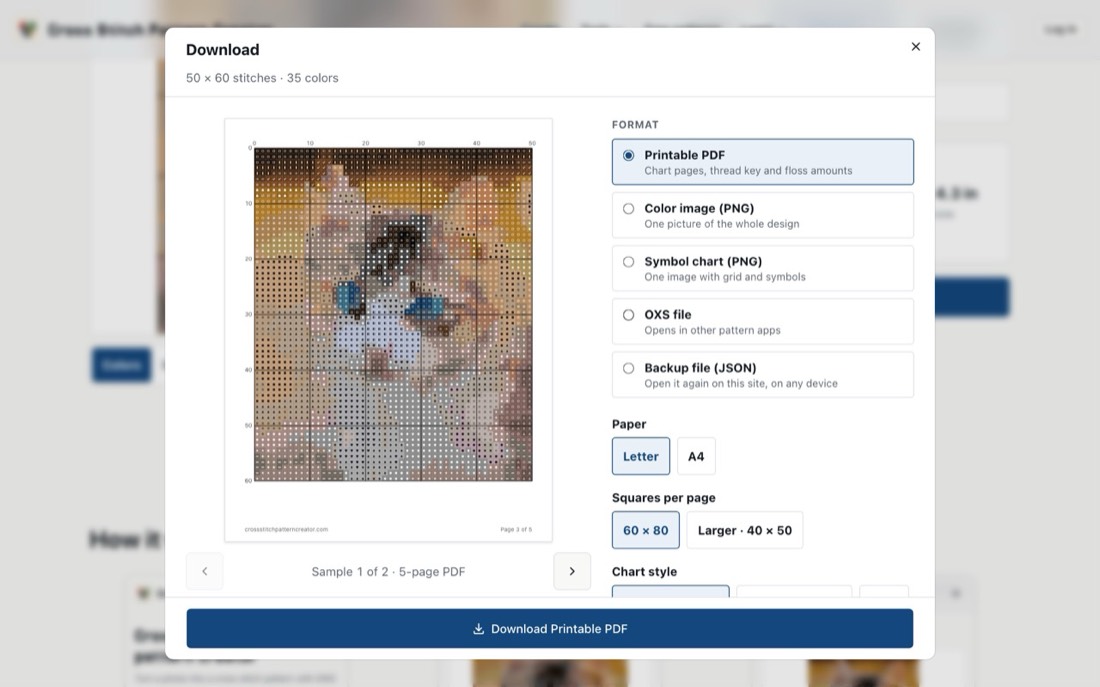
The download dialog shows every page before you print.
Ready to try it with your photo?
Questions
How many colors should a cross stitch pattern have?
Simple designs use 1 to 8 colors. Photos look good with 20 to 35 colors; more than 50 adds shading that is hard to see once stitched.
What size should my first pattern be?
About 60 stitches on the long side. It finishes around 4 inches on 14-count Aida, which takes a few evenings, and prints free here.
Can I make a pattern from text instead of a photo?
Yes. Type a name or a word on the cross stitch letters page, pick an alphabet and a color, and download the pattern.